Tecnocut
Cylinder Checking Tool
Keep your cylinders in the best condition with this precise tool

Focus on maintenance
Cylinder Checking Tool
Control your cylinder’s tolerance easily
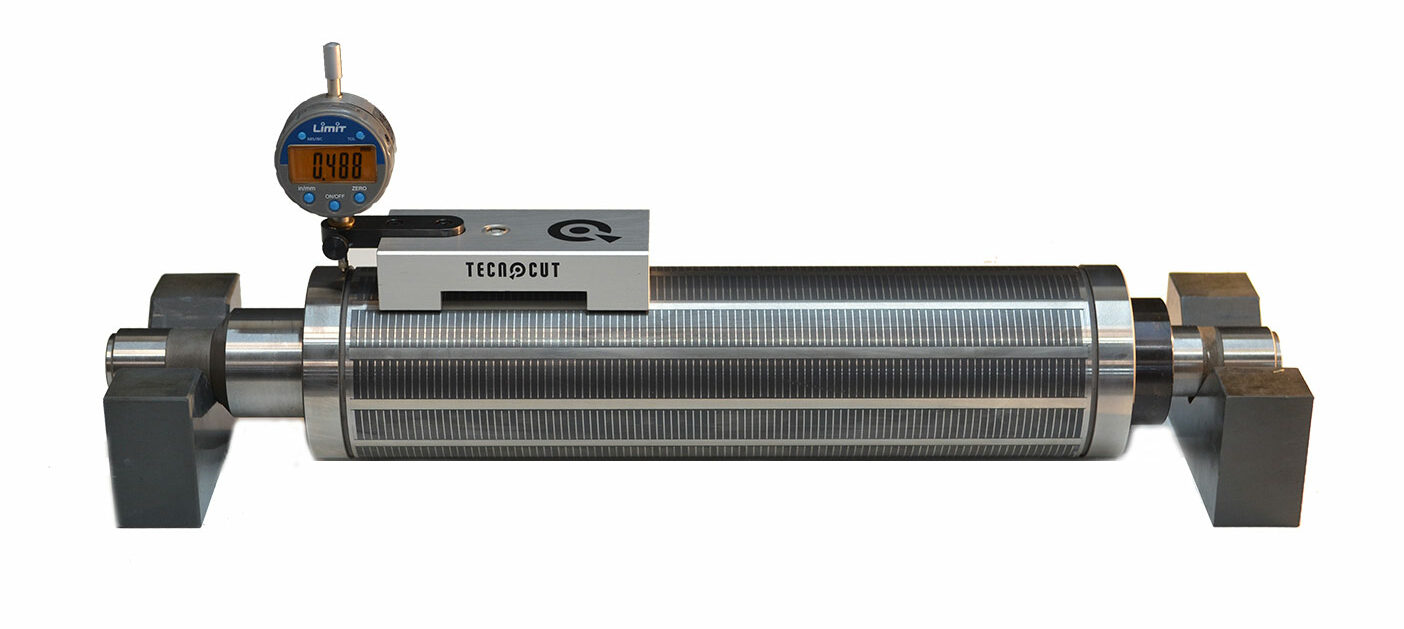
The cylinder checking tool allows us to measure the light gap (airgap) of the magnetic cylinders.
- Is used to perform maintenance and detect those that need repair or replacement.
- Is made up of a robust clamping system incorporated into the dial indicator and it can measure the cylinders on both sides.
- Allows detecting that the cylinder is die cutting correctly,without cutting too deep or too shallow.
Invest in cylinder checking and save costs
Discover this tool’s advantages
Constant maintenance
You will be able to measure the cylinder’s tolerance very easily whenever you need it.
Easy placement
It has a robust clamping system incorporated that allows to measure the cylinders on both sides.
Simple operation
Any operator can use it and understand its results, without having technical knowledge.
Save costs
Not verifying that the cylinders are working correctly could lead to productivity losses.
This is how our cylinder checking tool works
Understand the results easily
The results of the cylinder checking tool can be classified according to three bands:
- Correct: indicates that the magnetic is in correct operation with acceptable tolerances of +/- 3 micros. Ideal measurement: 0.480 mm
- Acceptable: indicates that the magnetic has imperfections or is on the verge of going out of accepted tolerances.
- Poor: suggests that the magnetic cylinder should be immediately removed from inventory due to its tolerance issues.

